Playing With Fire
Two veteran National Geographic photographers give their tips on how to take photographs when flames—large or small—are the only source of light.


Cary Wolinsky and Bob Caputo have a combined 64 years of experience photographing stories for National Geographic and other publications. Along the way, they learned a thing or two about making photographs. In 2010, they launched PixBoomBa.com, which, through videos and illustrated text, imparts photo-making tips with insight, humor, and varying degrees of success.
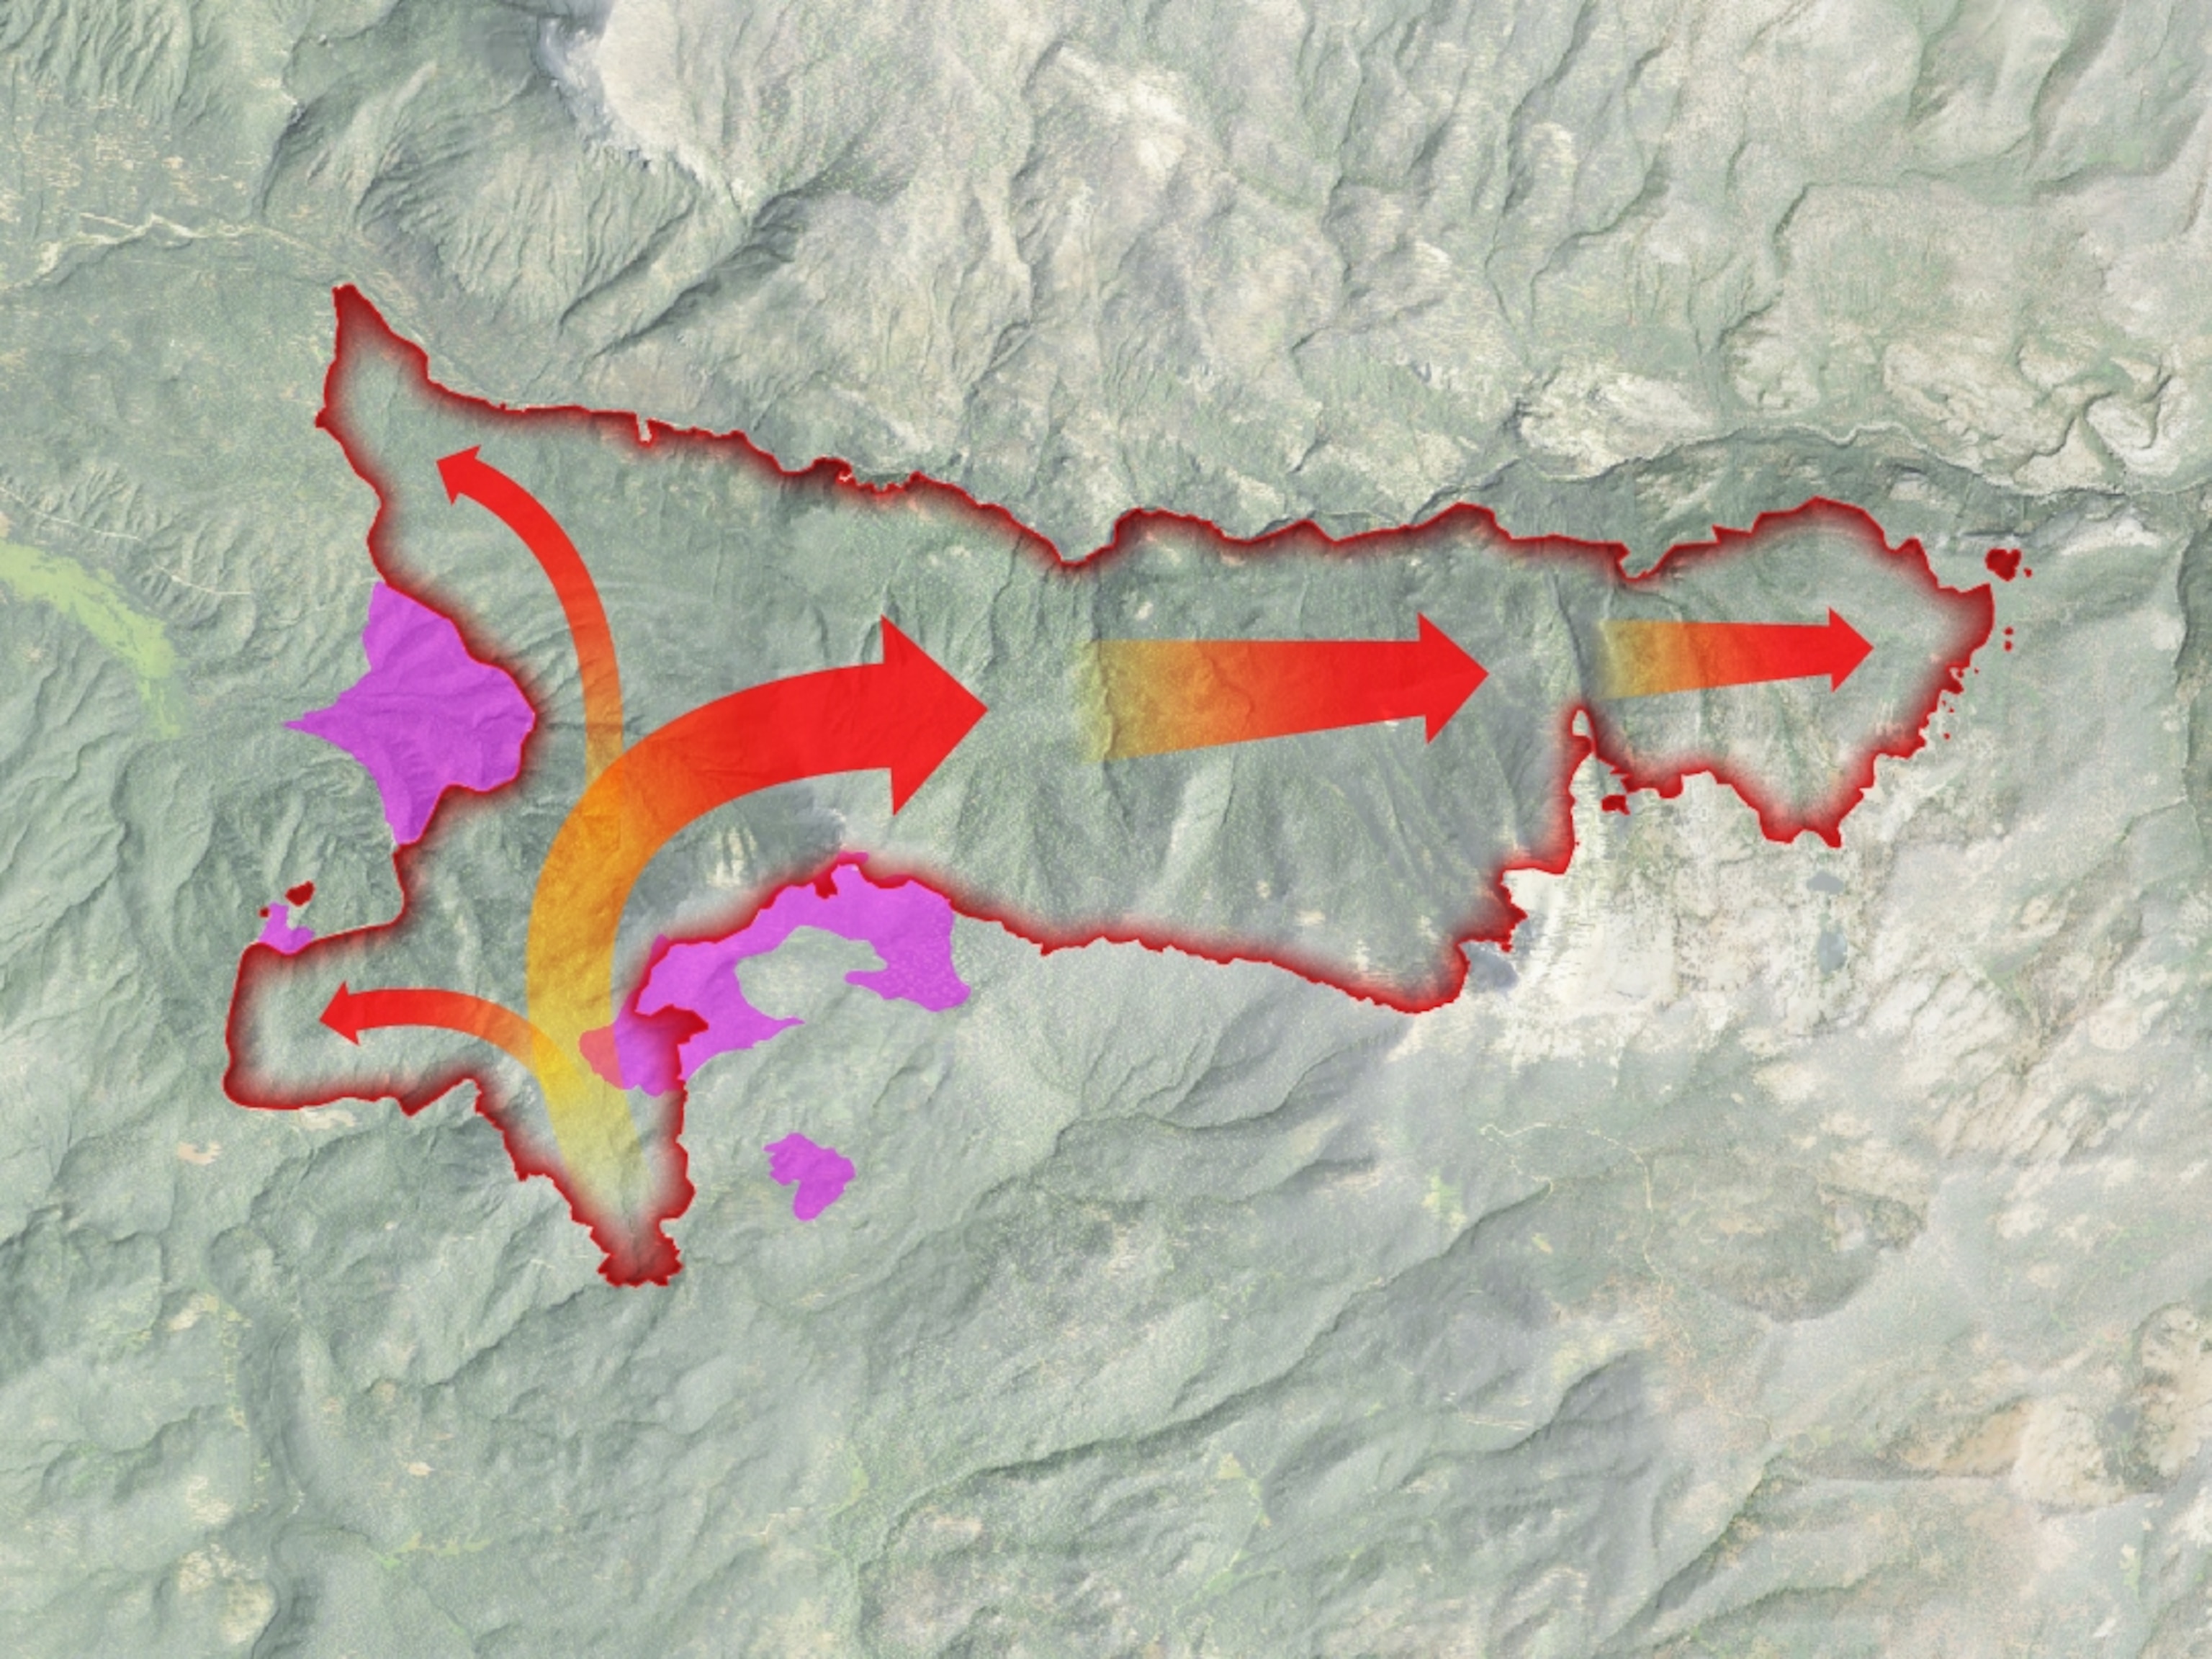
Candles. Lanterns. Torches. Campfires. They give off beautiful light, but not very much of it. (Well, except for full-frame flames like that at top left. And don’t be concerned—it’s not a person but a flame-test dummy dressed in a firefighter’s uniform.) Whether it comes from candles on a birthday cake or a campfire on the prairie, that golden source of light is the point of the picture you're about to take of the birthday boy or cowboys cooking their evening meal. And we’ve all had this low-light problem, especially when shooting in an auto mode. If you shoot where there’s not enough ambient light, the flame will be bright and everything else will be really dark. If there’s a flash unit built into your camera, it’s going to want to go off, and its light will overpower the golden glow, even making candles look as if they’re not lit. Instead of a warm glow, you’ll get a harshly lit, overly bright scene. So what do you do to make the flames visible and capture the mood you’re after?
Slow Shutter Speed
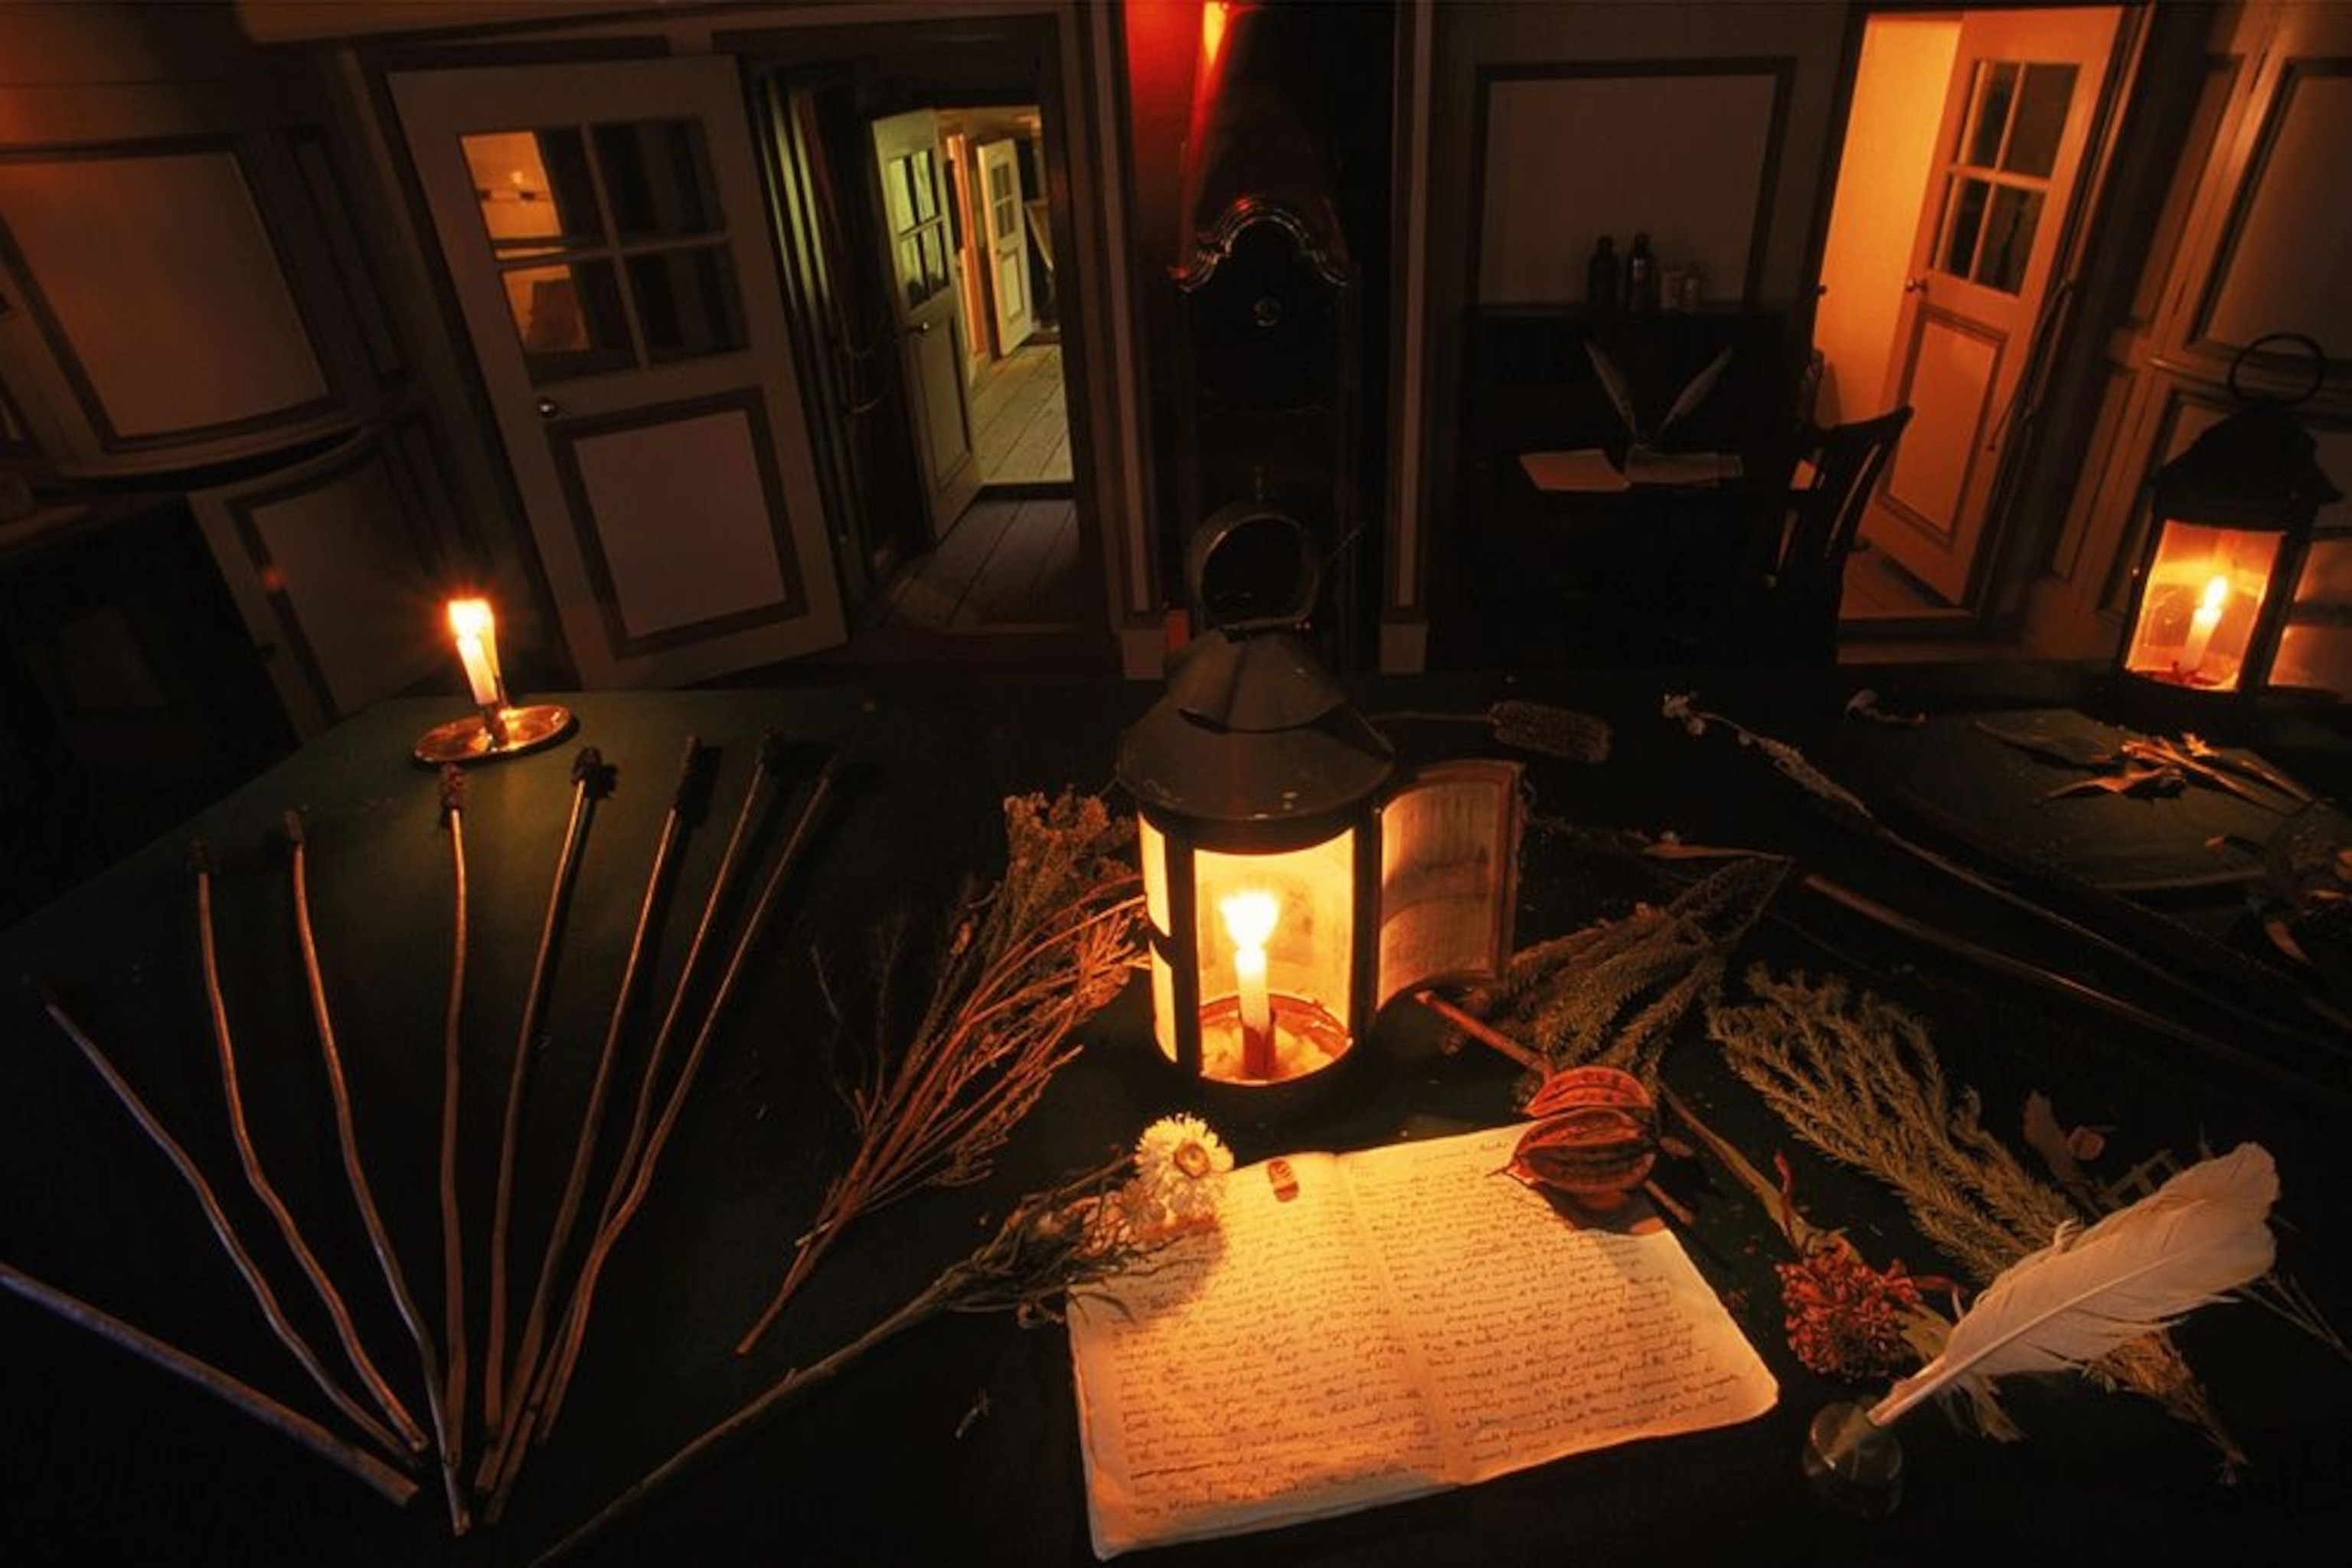
The main trick is to use a slow shutter speed. Any light, whether it’s a source light or reflected, needs time to record itself on your sensor—the brighter the light, the less time is needed; dim light needs a lot of time. And the size of the aperture matters too. Small holes (f/16, f/22, etc.) let in little light; big holes (f/2, f/2.8, etc.) let in a lot. It takes some experimentation to get the right shutter speed/f-stop combination because of the variables: the brightness of the light source—a pressure lantern is brighter than a kerosene lantern, which is brighter than a candle—or the distance of the light source from your subject, among other things. A good rule of thumb for birthday candles is to start at 1/15th of a second at f/5.6. (It’s good to use a mid-range f-stop so you have some depth of field.) One of the many great things about digital cameras is that you can immediately check to see if your exposure works. If it doesn’t, try a slower shutter speed or larger aperture—but don’t go too slow with the shutter speed or the kid blowing out the candles will get blurry.
If you’re making images of someone sitting by a campfire, you can be pretty sure that the light will be fairly constant. But if you’re shooting someone blowing out candles on a cake, remember that the amount of light is going to decrease rapidly, and then there will be none. One of the advantages of getting older is that you get more candles—and more light. And it takes longer to blow them out, so you can fire off more pics.

Fill Flash
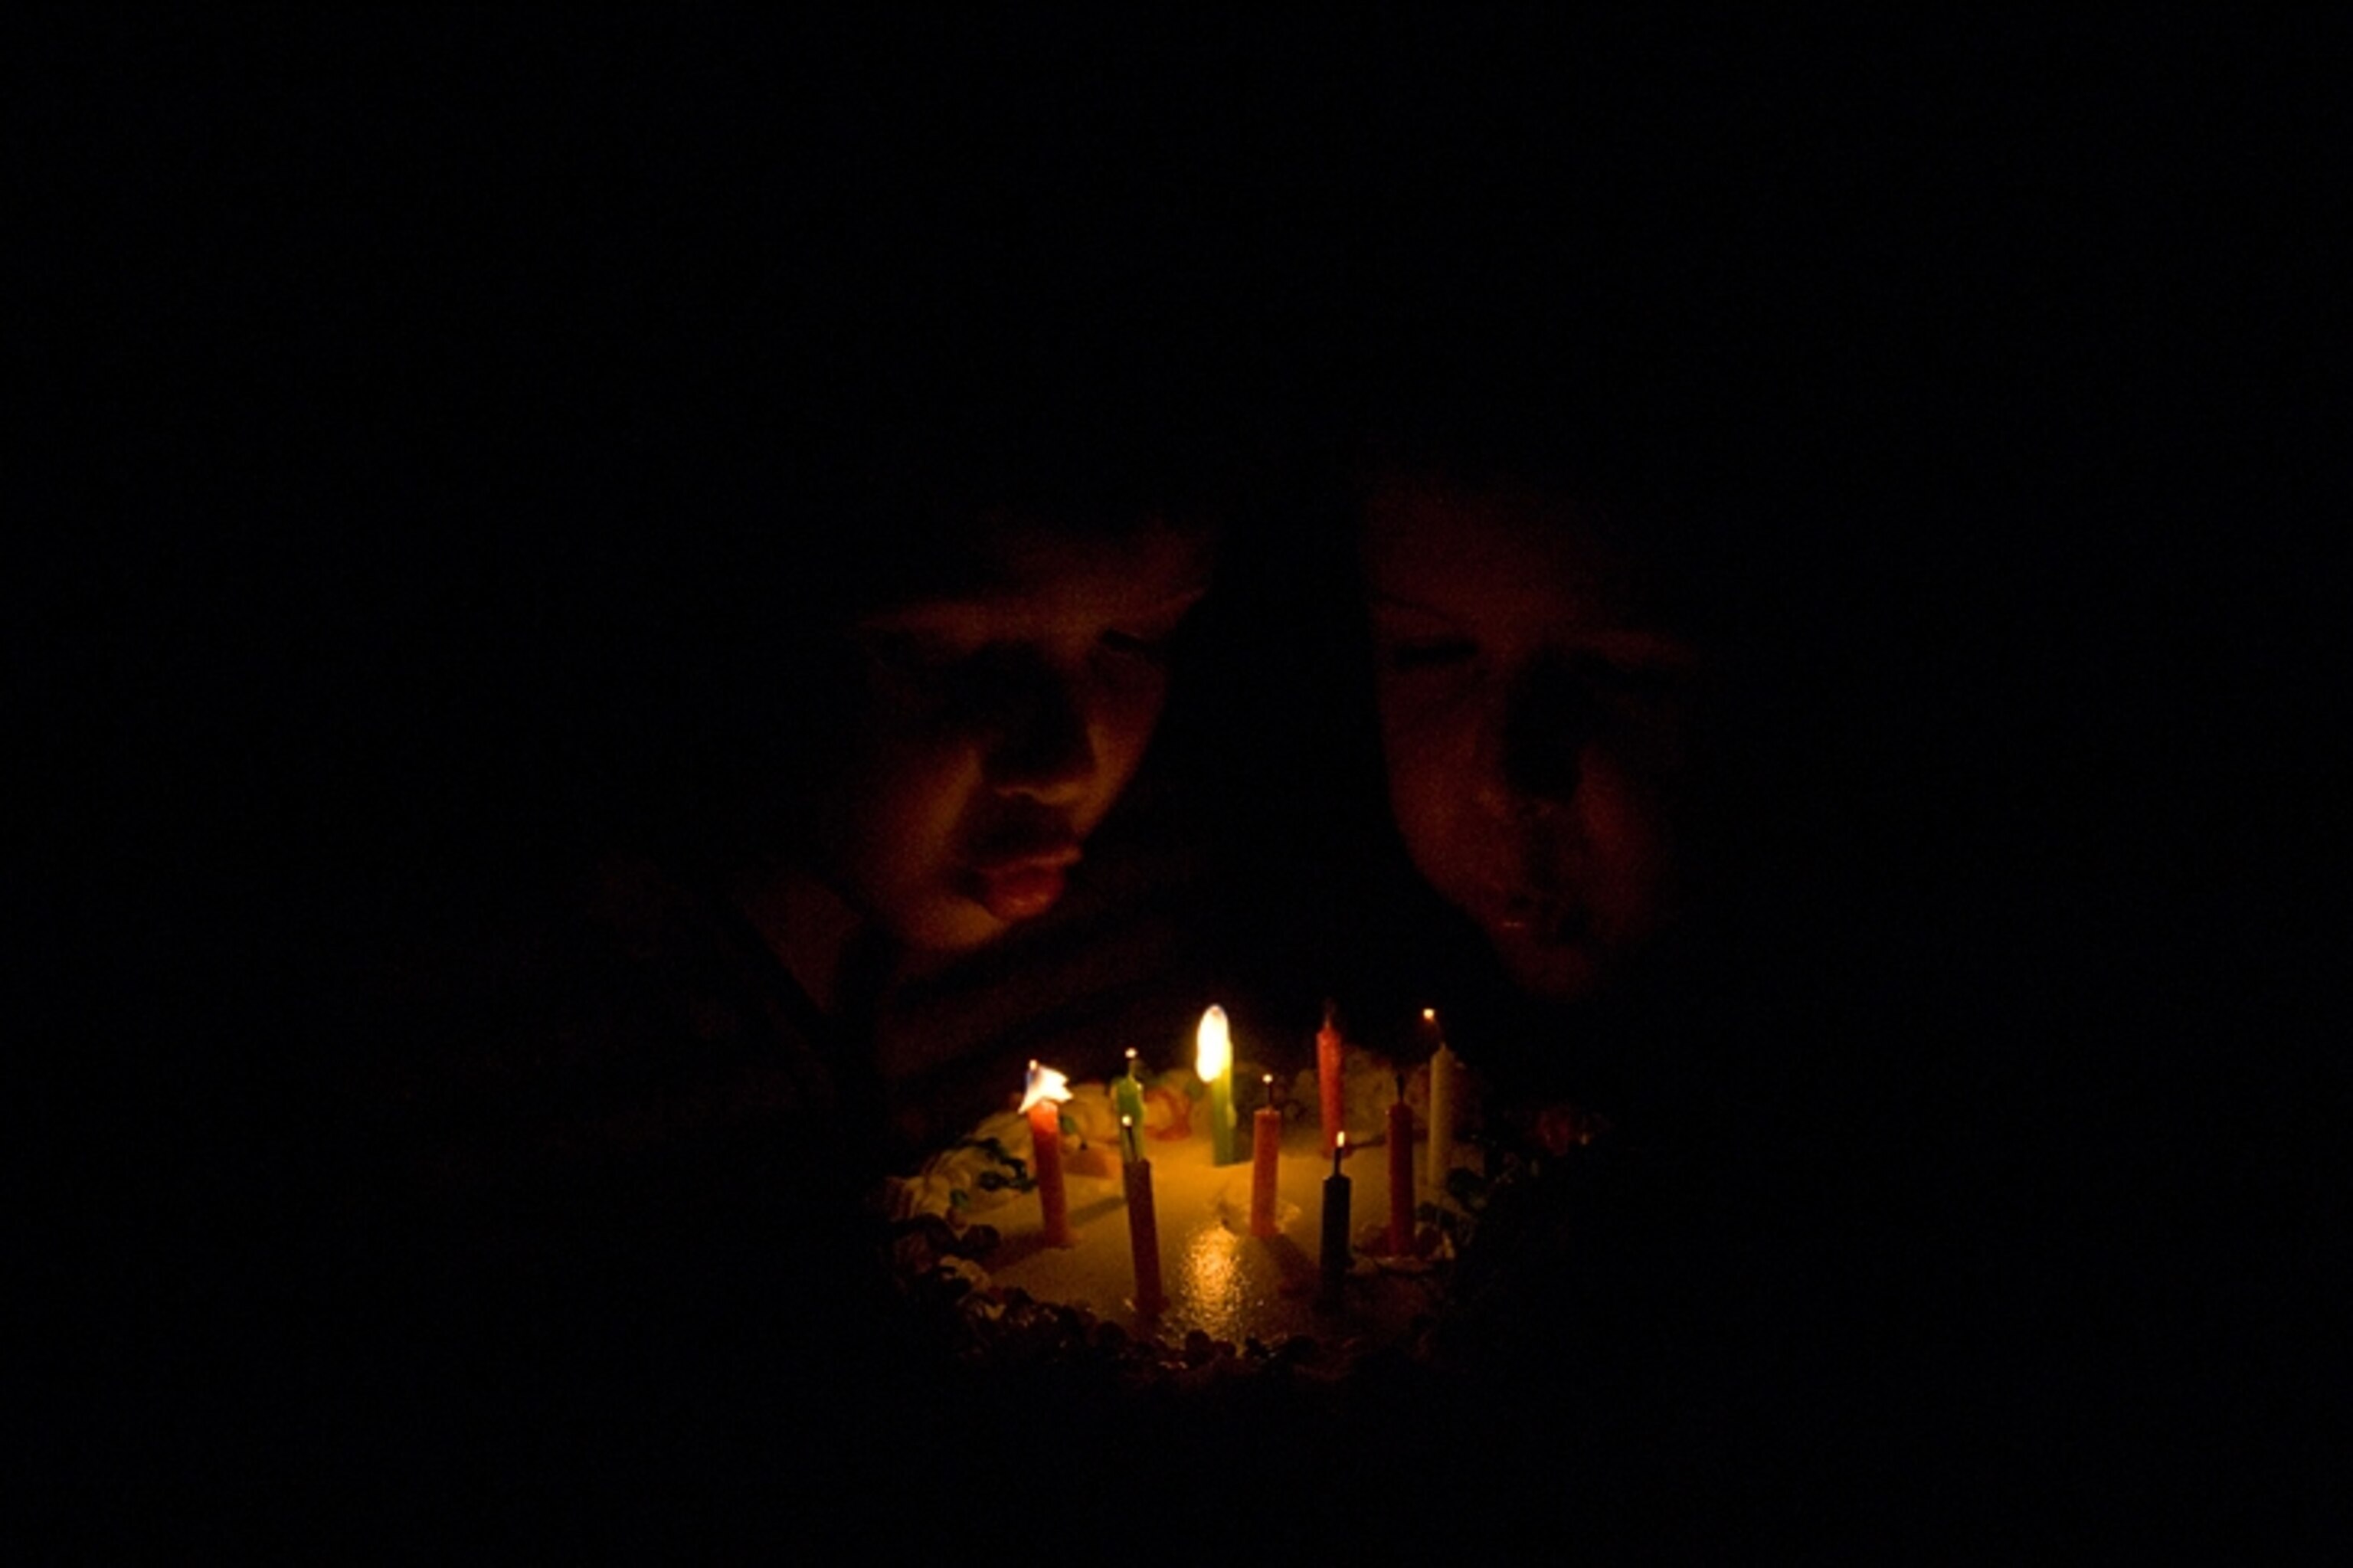
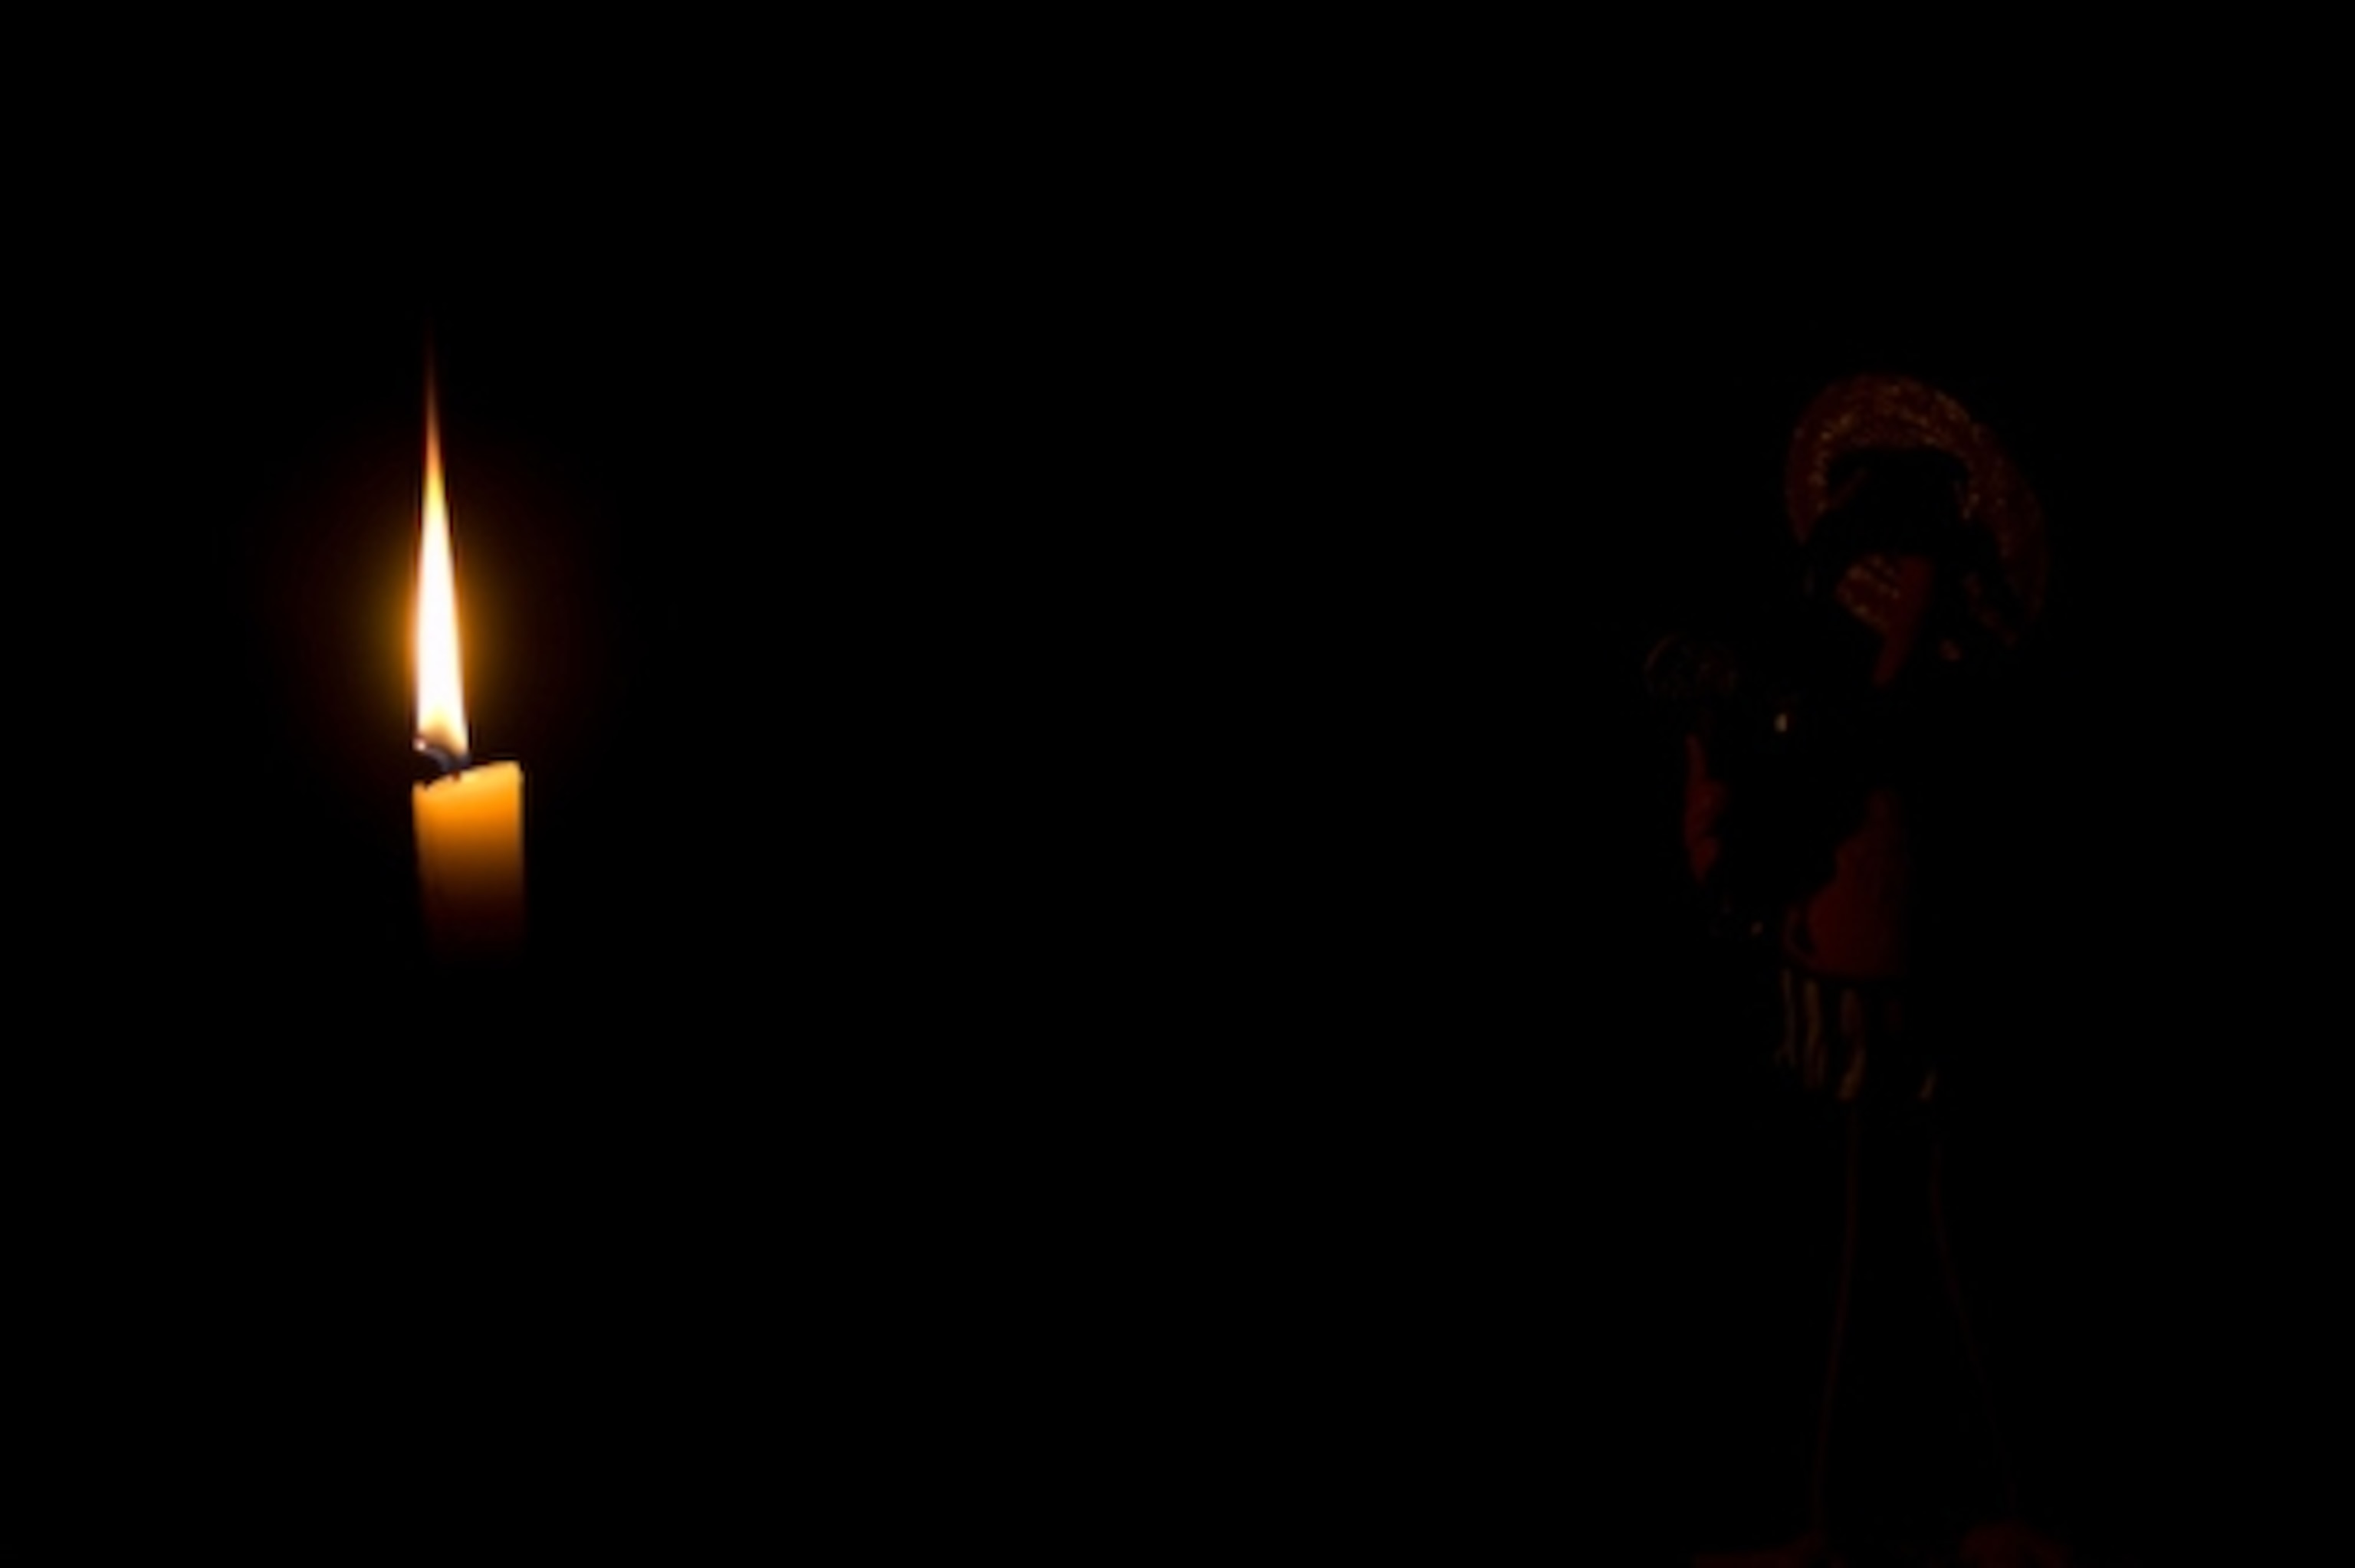
If there’s little or no ambient light in the flame-lit scene you’re shooting and you want to see more than what’s very close to the flame, fill flash is a handy tool. The trick is to throw enough light on the subject to be able to see it in some detail without overpowering the golden light thrown by the flame. Here’s how to do fill flash for birthday cakes and the like.


Modern flash units and the flashes built into most cameras have adjustable outputs—that means that you can tell the flash to put out more or less light than it normally would in a given situation. The adjustment can be made in one of the menus under “Flash Level” or something similar. It’s usually in increments of 1/3, and can go to as little as -3 stops or +3 stops. I shot all the images of our friendly flamingo (below) at 1/8th of a second at f/5.6. In the first set, you can see how rapidly the light falls off as he’s moved away from the candle.


For the set of images below, I used the flash at its full power—too much for my taste. There’s no mood in the pictures.
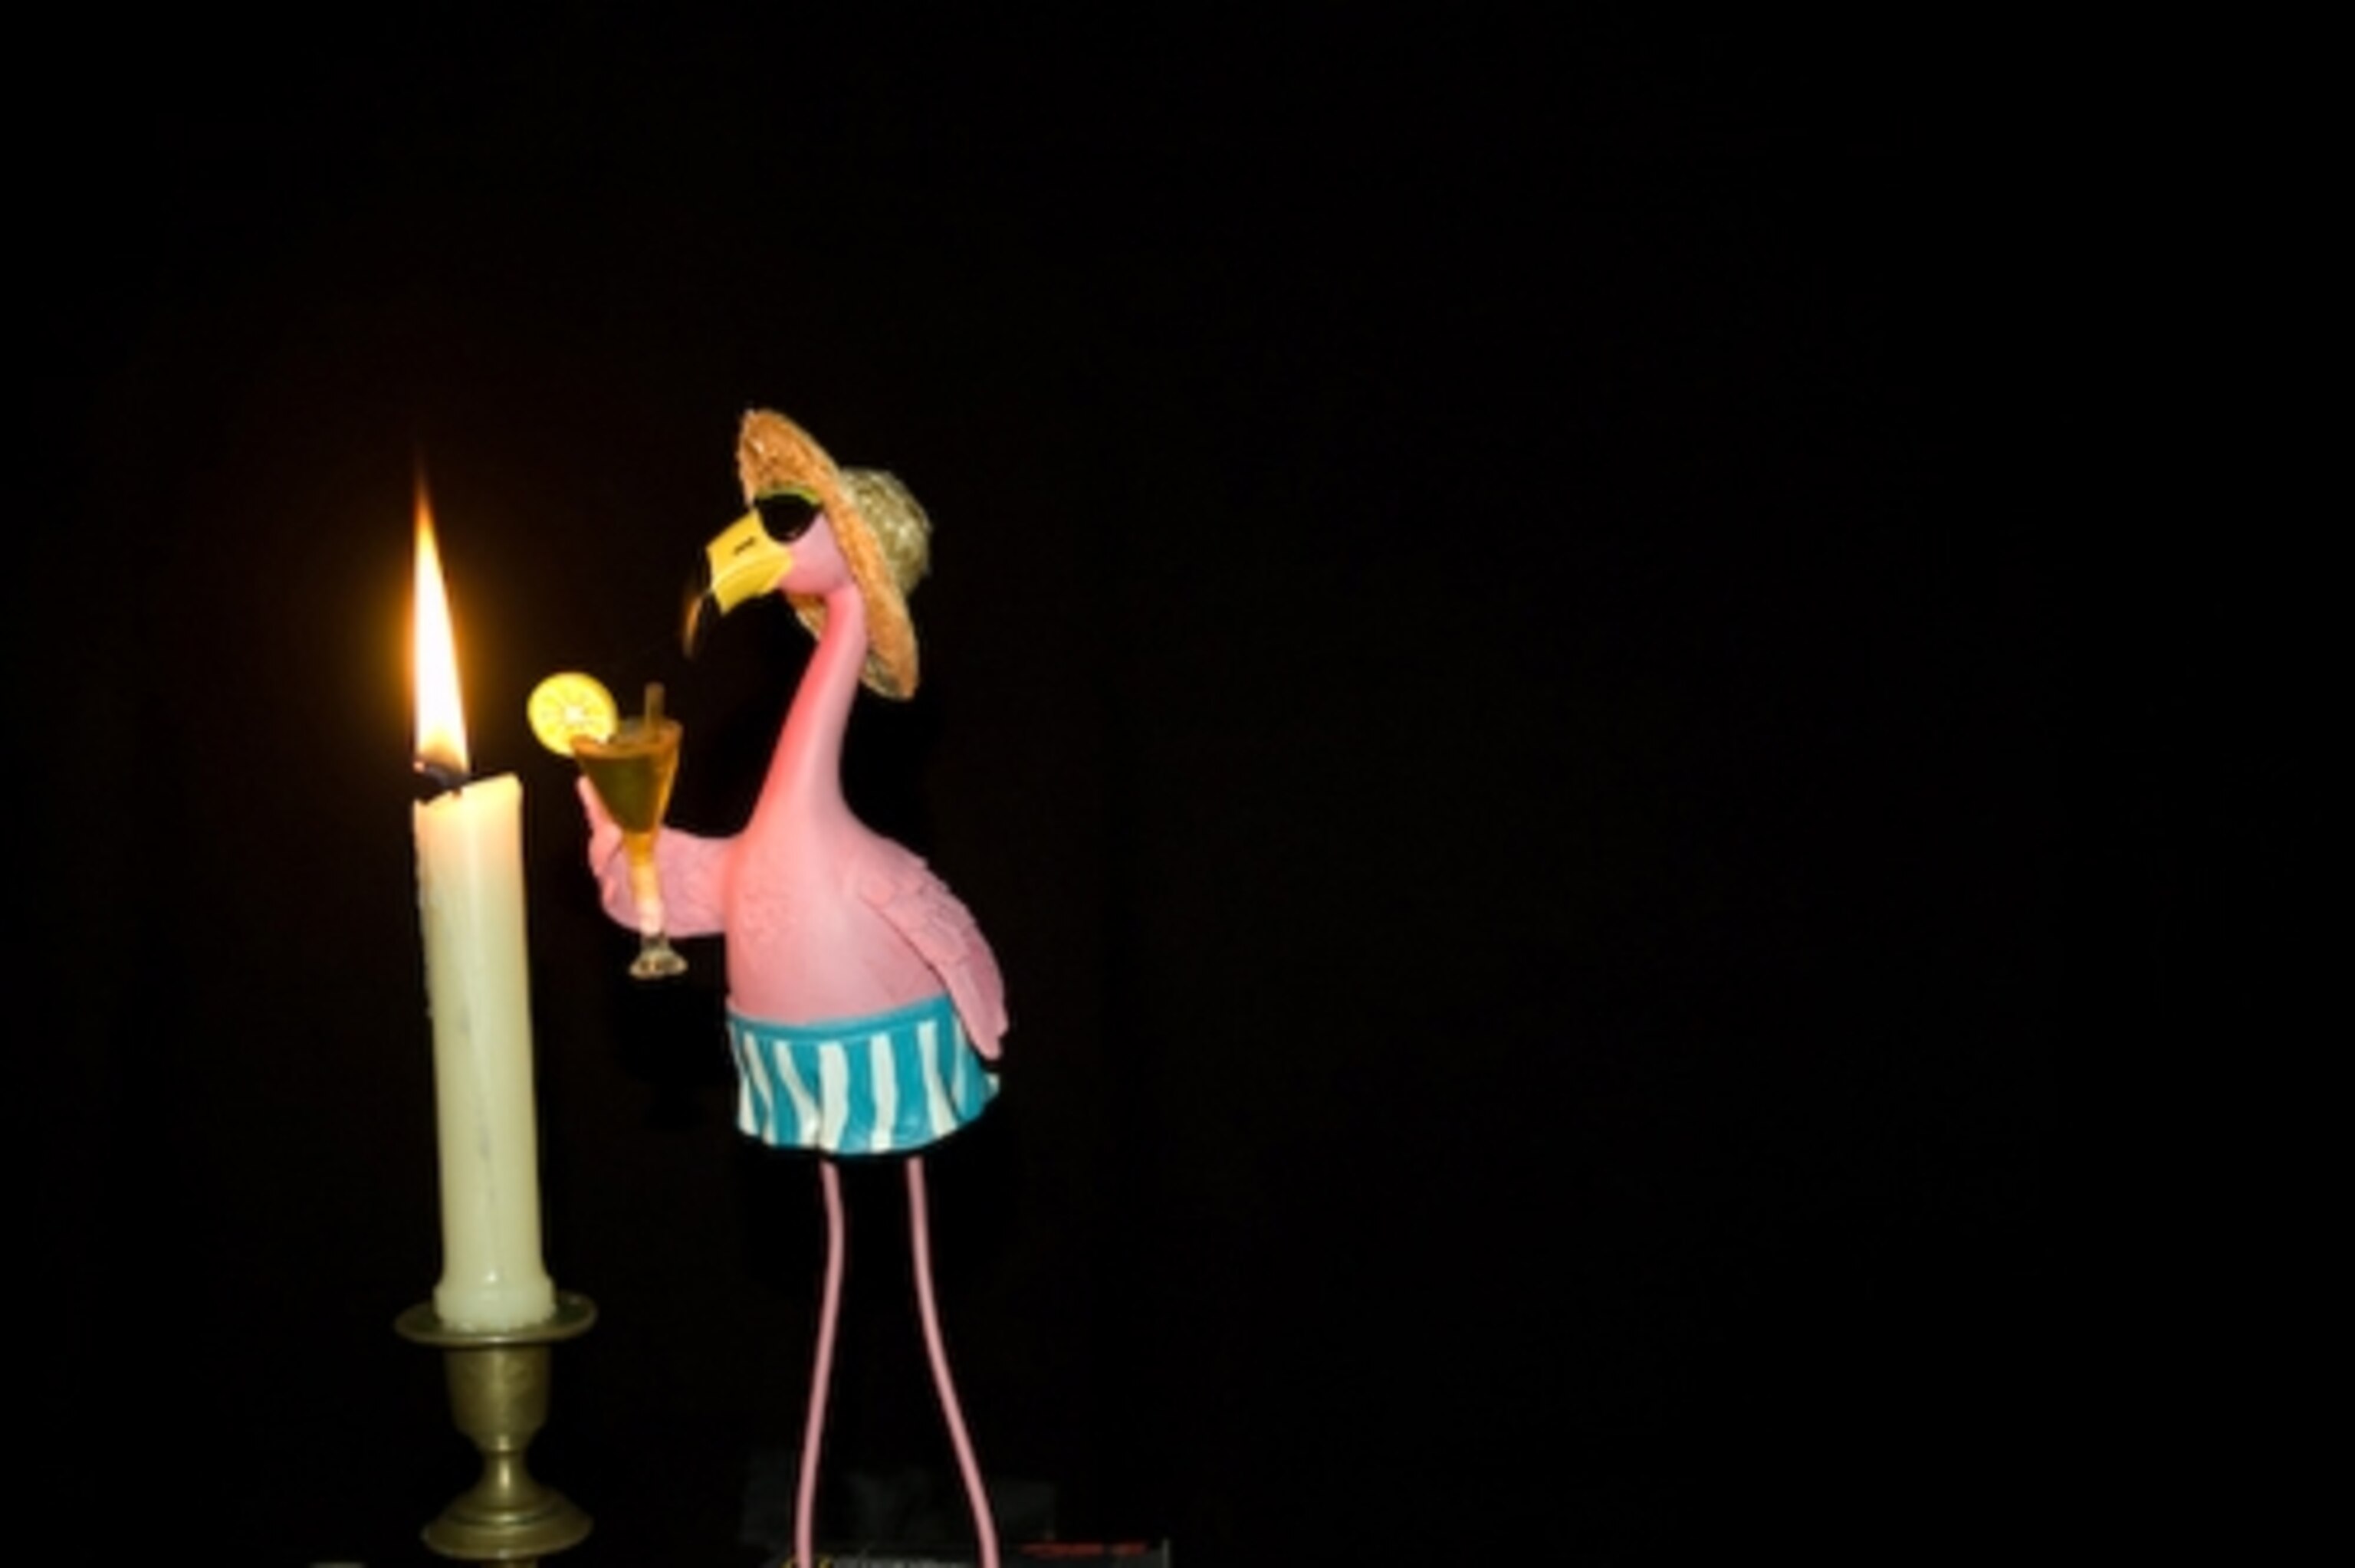


In the images below I adjusted the flash to -3. You can see that more detail is visible on the flamingo in all the shots. But except for the one where he (we’re assuming it’s a he) is near the candle, you lose the effect of the flame. But you can see him, which you can barely do when he’s far away and no flash is used.
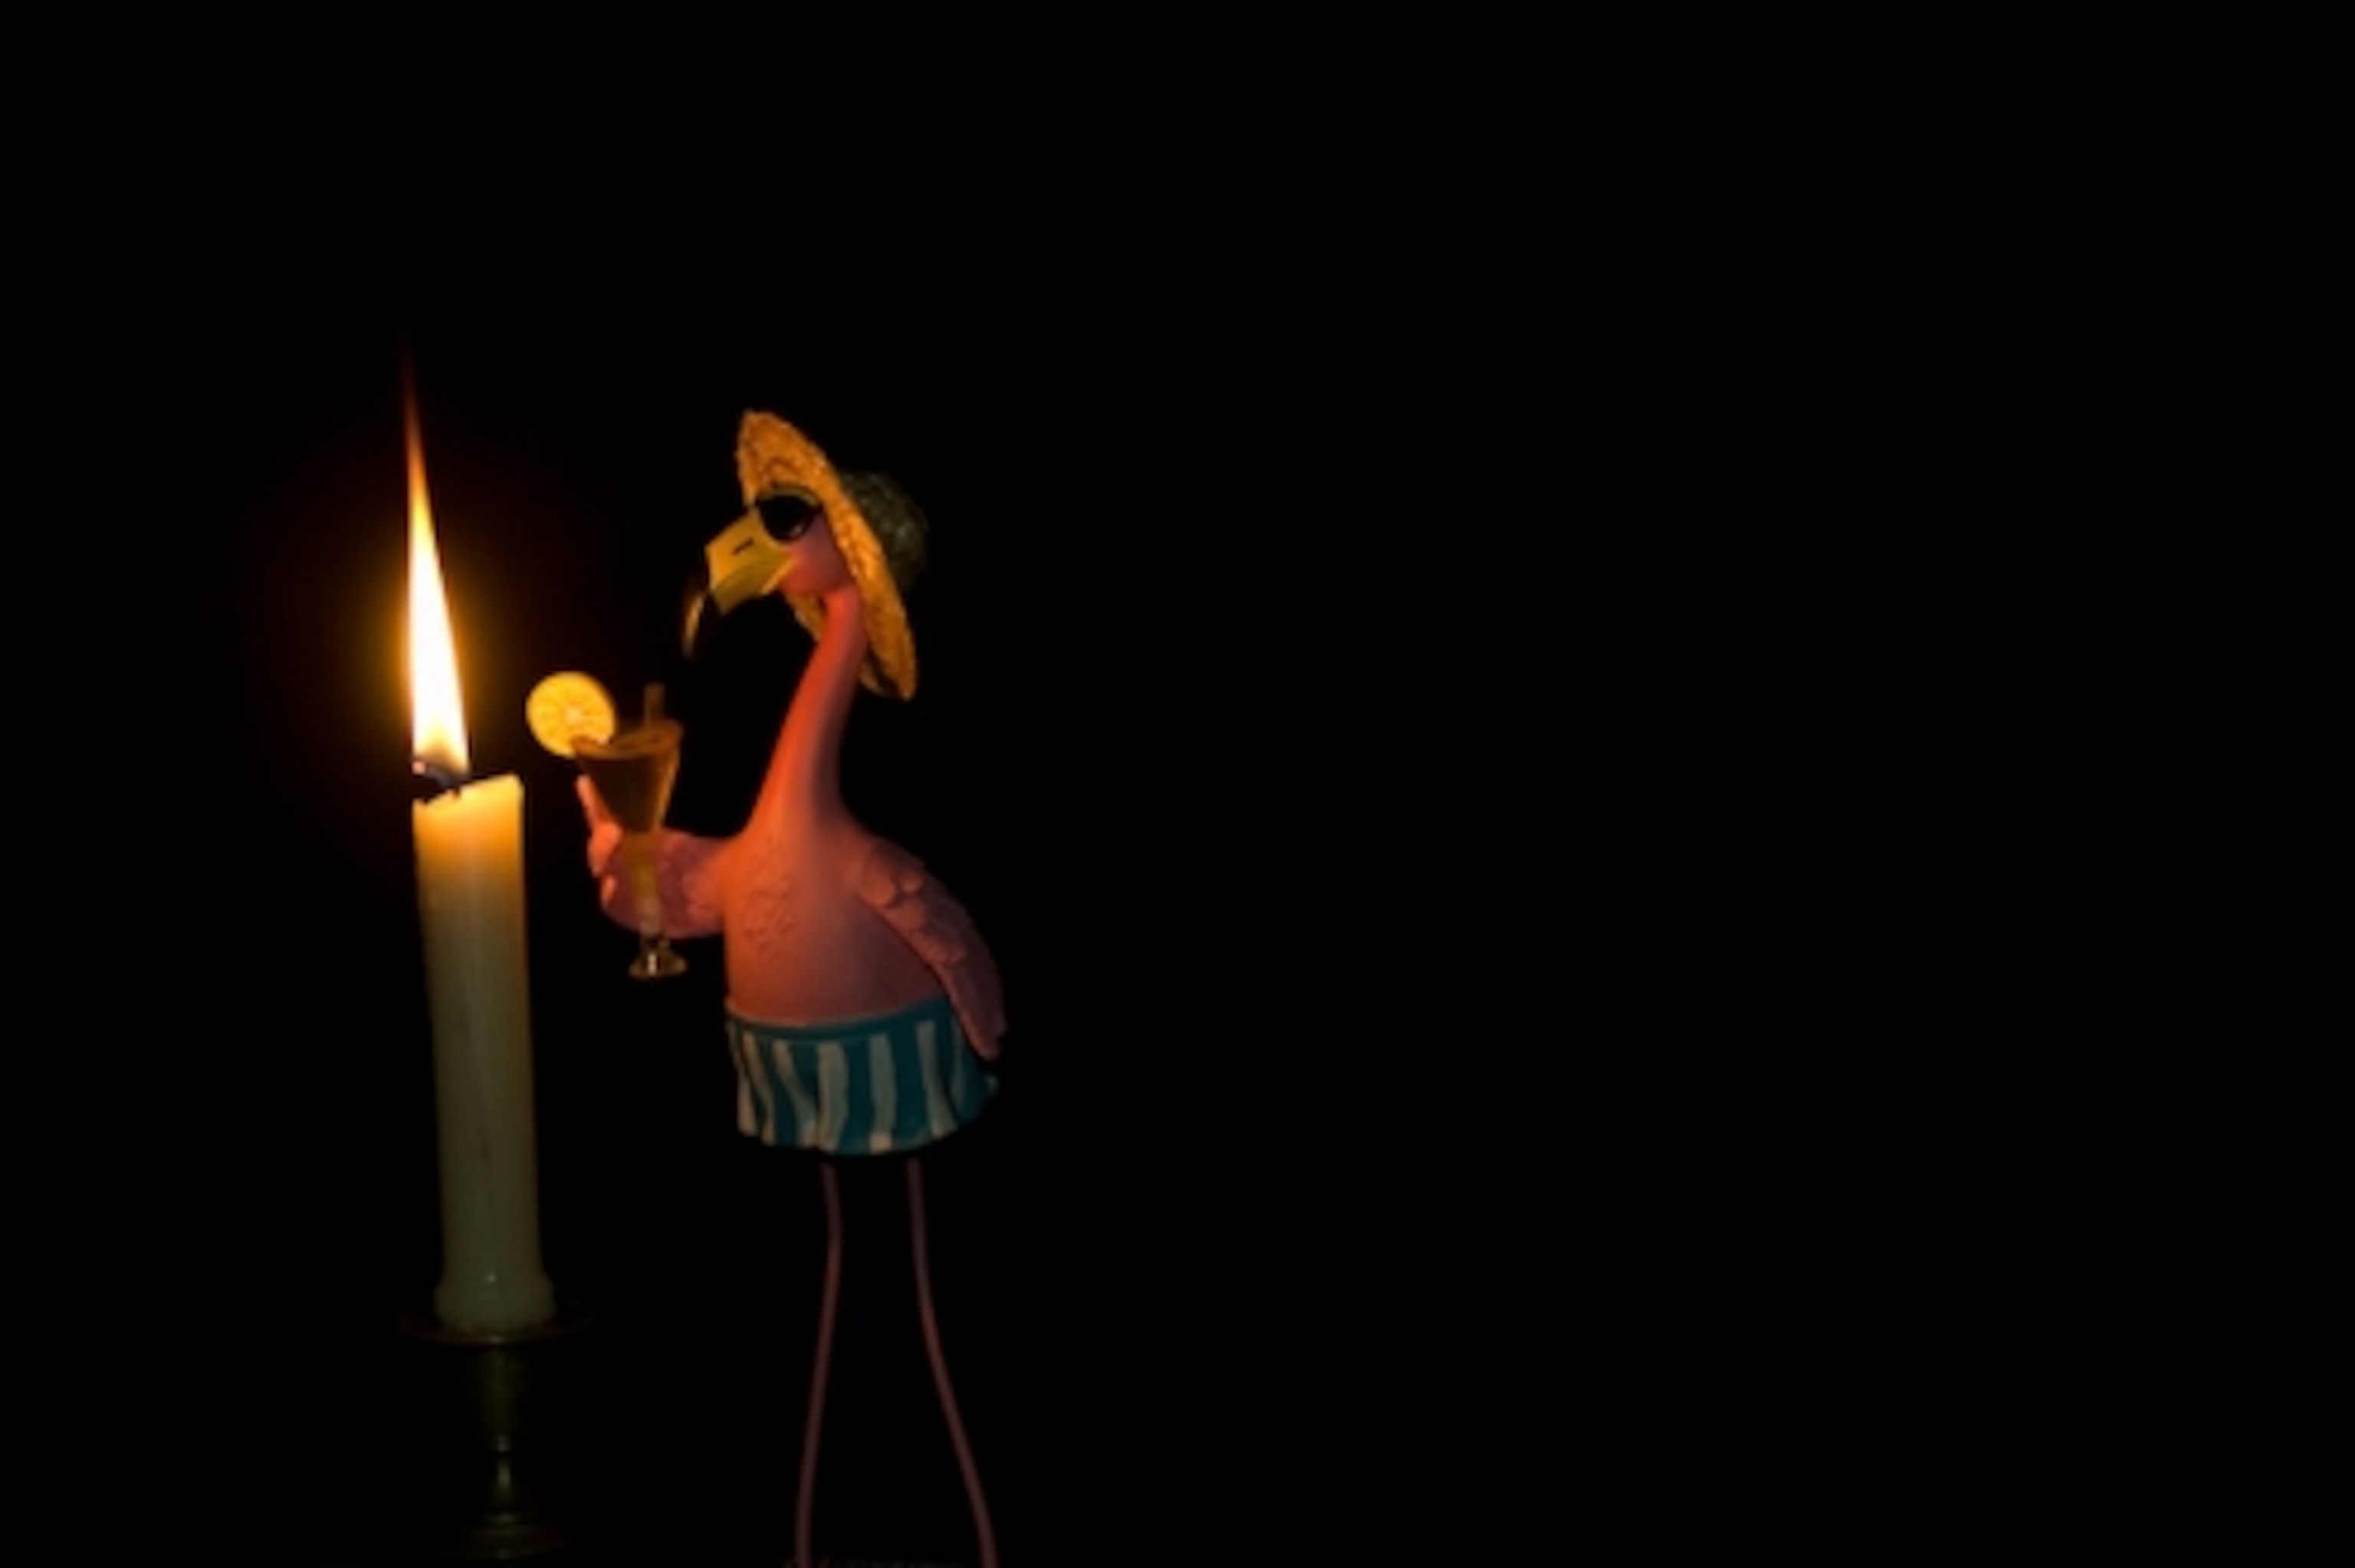

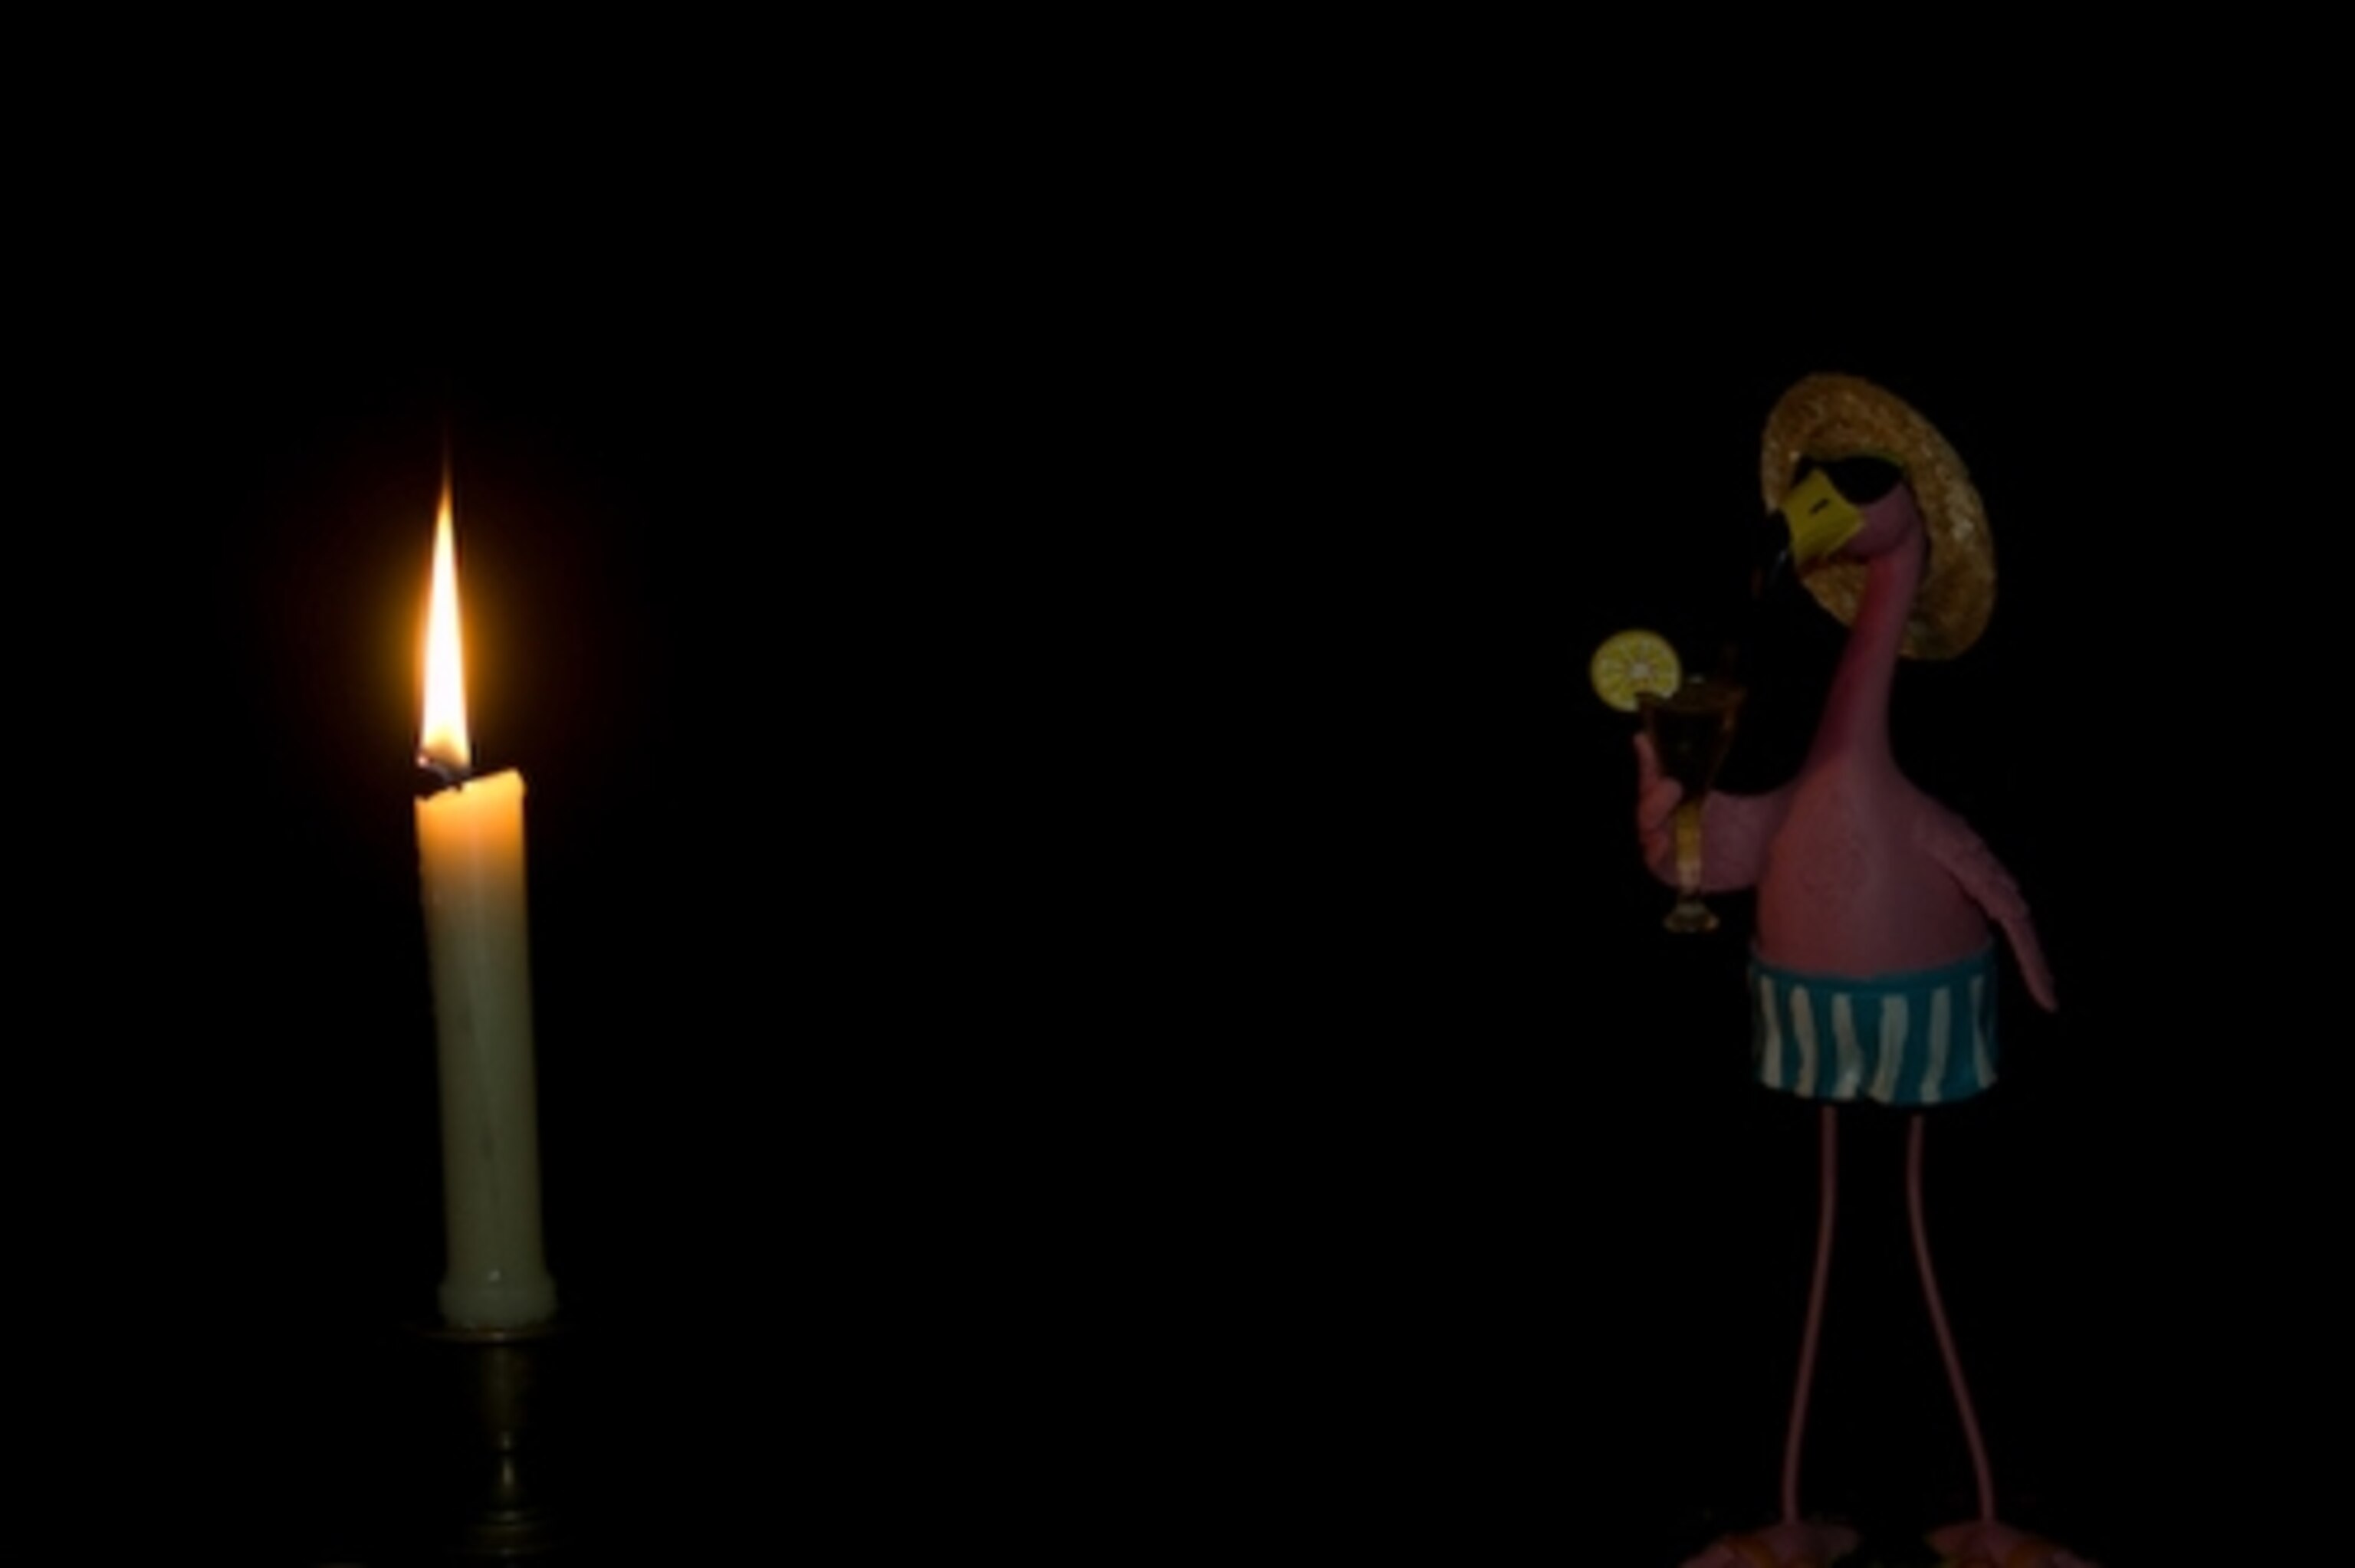
Here’s how it works: In the middle row above, the flash did some calculations and put out enough light to properly expose the subject for the shutter speed/aperture setting it read from the camera—1/8th of a second at f/5.6. That’s what a full-on flash will do. In the bottom row, we told it to put out three stops less light. Again, the flash did some calculations and then put out light for a proper exposure at 1/8th of a second at f/16. That’s not a lot of light, but it’s enough to give us detail without overpowering the flame.
Getting this right—a slow enough shutter speed to show the flame(s) but fast enough to freeze your subject (unless you want blur)— takes some practice. To get the shot you want, you may need to increase the ISO setting on the camera. The newer models make amazing pictures at high ISO ratings with little “noise” in the image (what we called “grain” in the film days).
Shooting flames is tricky. They can be small and weak or huge and strong. Remember that if your subject is close to the flame, it will be fairly well lit, but that the light falls off quickly with distance. And if your subject is between you and the flame, it will be in the dark. So experiment a lot, figure out what works in different situations, and fire away!


Photographs by Cary Wolinsky and Robert Caputo. Text by Robert Caputo, PixBoomBa.com.
Related Topics
You May Also Like
Go Further
Animals
- What rising temperatures in the Gulf of Maine mean for wildlifeWhat rising temperatures in the Gulf of Maine mean for wildlife
- He’s called ‘omacha,’ a dolphin that transforms into a man. Why?He’s called ‘omacha,’ a dolphin that transforms into a man. Why?
- Behind the scenes at America’s biggest birding festivalBehind the scenes at America’s biggest birding festival
- How scientists are piecing together a sperm whale ‘alphabet’How scientists are piecing together a sperm whale ‘alphabet’
Environment
- What rising temperatures in the Gulf of Maine mean for wildlifeWhat rising temperatures in the Gulf of Maine mean for wildlife
- He’s called ‘omacha,’ a dolphin that transforms into a man. Why?He’s called ‘omacha,’ a dolphin that transforms into a man. Why?
- The northernmost flower living at the top of the worldThe northernmost flower living at the top of the world
- This beautiful floating flower is wreaking havoc on NigeriaThis beautiful floating flower is wreaking havoc on Nigeria
- What the Aral Sea might teach us about life after disasterWhat the Aral Sea might teach us about life after disaster
History & Culture
- This thriving society vanished into thin air. What happened?This thriving society vanished into thin air. What happened?
- These were the real rules of courtship in the ‘Bridgerton’ eraThese were the real rules of courtship in the ‘Bridgerton’ era
Science
- What will astronauts use to drive across the Moon?What will astronauts use to drive across the Moon?
- Oral contraceptives may help lower the risk of sports injuriesOral contraceptives may help lower the risk of sports injuries
- How stressed are you? Answer these 10 questions to find out.
- Science
How stressed are you? Answer these 10 questions to find out. - Does meditation actually work? Here’s what the science says.Does meditation actually work? Here’s what the science says.
- How to cope with stress at work—and avoid burning outHow to cope with stress at work—and avoid burning out
Travel
- Discover the sordid history behind these English country homesDiscover the sordid history behind these English country homes
- The 'original' High Line is in Paris — here's how to walk itThe 'original' High Line is in Paris — here's how to walk it
- These rollerskaters take over Paris every Friday nightThese rollerskaters take over Paris every Friday night
- The story of this French village is set in stone — literallyThe story of this French village is set in stone — literally
- How to spend a long weekend in Zagreb, Croatia
- Paid Content
How to spend a long weekend in Zagreb, Croatia


